From Logs to Project-Ready Lumber
Working closely with landowners from start to finish, we strive to produce the highest-quality lumber possible from your logs or ours.

Video was created by Out of The Woods Forestry
At Custom Sawmilling, LLC, we accept logs ranging from 8 to 55 feet in length and 8 inches or more in diameter at the small end. These dimensions are ideal for our sawmills, but we are also able to cut logs outside of this range. Please note that logs shorter than 8 feet or longer than 16 feet may incur additional fees.
The Milling Process
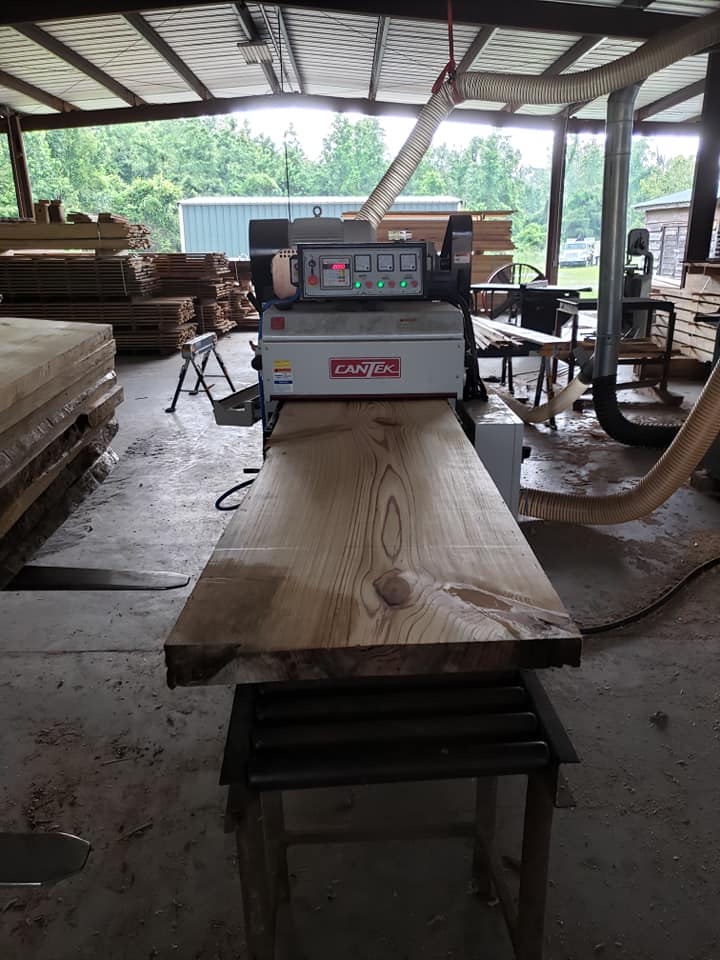
Transforming raw logs into high-quality lumber is a multi-step process that typically takes several days to complete. The exact timeline depends on factors such as:
Number of logs being processed
Weather conditions that may affect operations
Preferred lumber dimensions requested
Potential mechanical maintenance or adjustments
Our goal is to ensure precision and quality at every stage of the sawing process.
Drying & Stacking Your Lumber
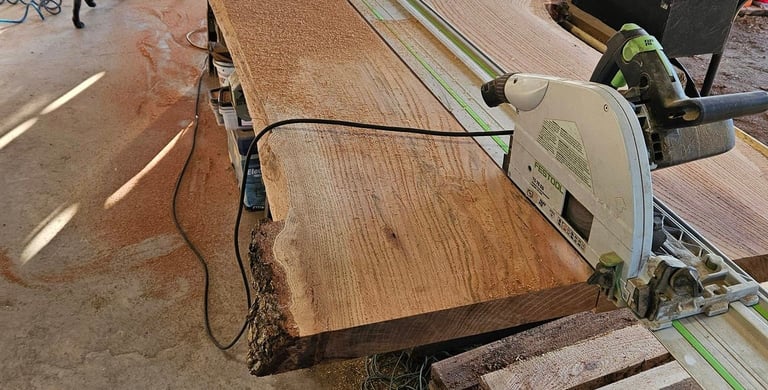
Once your logs are milled, the lumber needs to air dry for approximately three months or longer, depending on thickness. To facilitate proper drying, we use a strategic stacking method that promotes airflow around the wood.
We carefully place 1-inch square spacers, known as "stickers," between layers of lumber to enhance circulation. You can choose to use your own stickers, or we can cut and place them for you for an additional fee.
At Custom Sawmilling, we prioritize flexibility and customer satisfaction.
To ensure the best results and an efficient sawmill experience, we highly recommend preparing your logs in advance by following these key steps:
1. Mill While Logs Are Still Green
For the highest-quality lumber, logs should be milled within a few weeks of being felled while they’re still green. While we can saw older logs, freshly cut wood typically yields better grain patterns, reduced cracking, and overall superior lumber quality.
2. Stack Logs Properly
When bringing your logs to the sawmill, stack them in the same direction with the large ends together. This makes handling and processing much smoother.
3. Inspect for Metal & Foreign Objects
Check your logs for nails, screws, fence wire, rocks, or other embedded materials that could damage the saw blade. If you find anything, clearly mark the spot. If a foreign object damages a blade, a replacement fee will be charged.
By preparing ahead of time, you’ll ensure a faster, smoother, and more productive sawmilling experience. Have questions? Contact us today!
Tips and Tricks for a Smooth Sawmilling Experience
CALL, E-MAIL, OR VISIT
JUST CONTACT US TODAY
Jake Dean
1607 Capps Browning Rd.
Rentz, Ga 31075